


Binding just might be the most controversial topic in the quilting world.
For some, it’s the frame that finishes off the quilt. For others, it’s an annoying afterthought. Some quilters insist that there’s only one right way to bind a quilt.


I’m not going to weigh in on the debate. Instead, I’m going to share an epic list of tutorials to help you choose your favourite technique to bind your next quilt. Feel free to debate in the comments!
First Things First: How much binding fabric and how many strips do you need?
If you’re following a pattern, it probably tells you the yardage for binding and many strips to cut. If you modified the pattern, made an improv quilt, or aren’t following a pattern, my Magical Rainbow of Binding™ will save you from having to pull out a calculator.


How’s it work? Watch this 30-second demo!

Making Binding from strips
Ever messed up by joining the wrong side of your binding together? I sure have! Save yourself some seam ripping with these tips:

NEW!! Making continuous bias binding
If you want to cut your binding on the bias, whether you need it to go around curves or just like the look of a diagonal stripe, here’s the ultimate tutorial for making continuous bias binding! There are only 2 seams to sew, no marking, no scissors, and you can absolutely use the yardage calculations on the Magical Rainbow of Binding™.

How to Attach Binding to a Quilt


I first learned how to attach binding by machine from a 3-part episode of Quilty. The first 3 or 4 quilts that I made, I watched, paused, rewound, repeated these videos a dozen times.
Machine Finishing Quilt Binding

When I finish my binding by machine, I press A LOT, and glue baste to keep everything nice and crisp and well lined up. Shelly from Ma Tante Quilting has a great step by step video that shows her process, which is nearly identical to mine. Watch it here, then catch the difference (mitred corners) here.

Binding Quilts with Odd Angles and Curves
Whether you’re finishing the Arctic Vortex as a hexagonal quilt or a tree skirt, you’re going to encounter some unusual angles! Here’s my video tutorial to help you make your way around those odd corners.

Big Stitch Quilt Binding

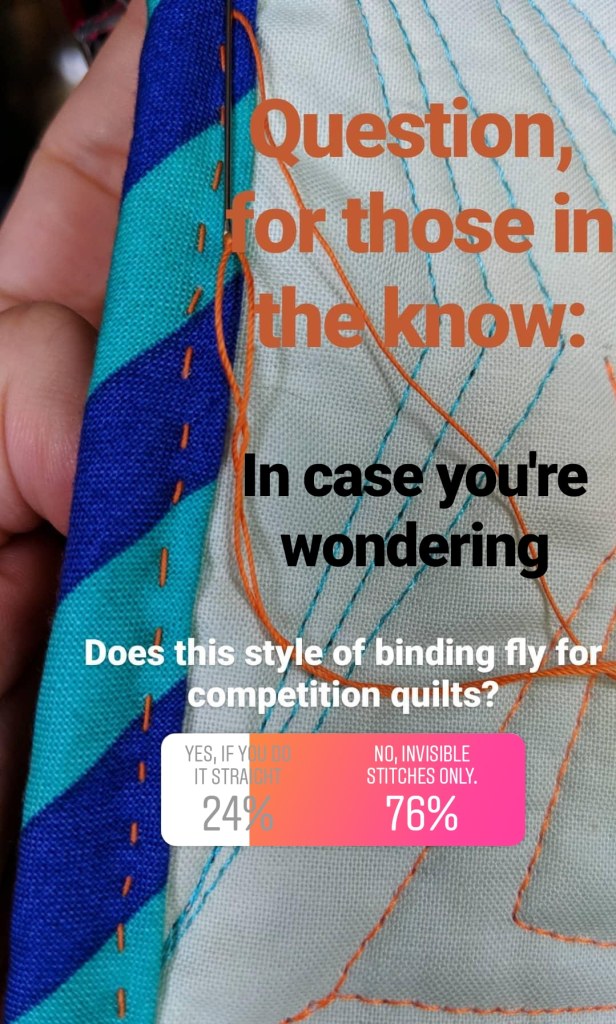
I love the look and stability of the big stitches that Erica uses in her tutorial for big stitch binding with perle cotton.
(Sorry for the awful picture. That’s my crappy stitching, and apparently I didn’t save the picture before posting it to my Instagram stories.)
Attaching Quilt Binding on a Longarm
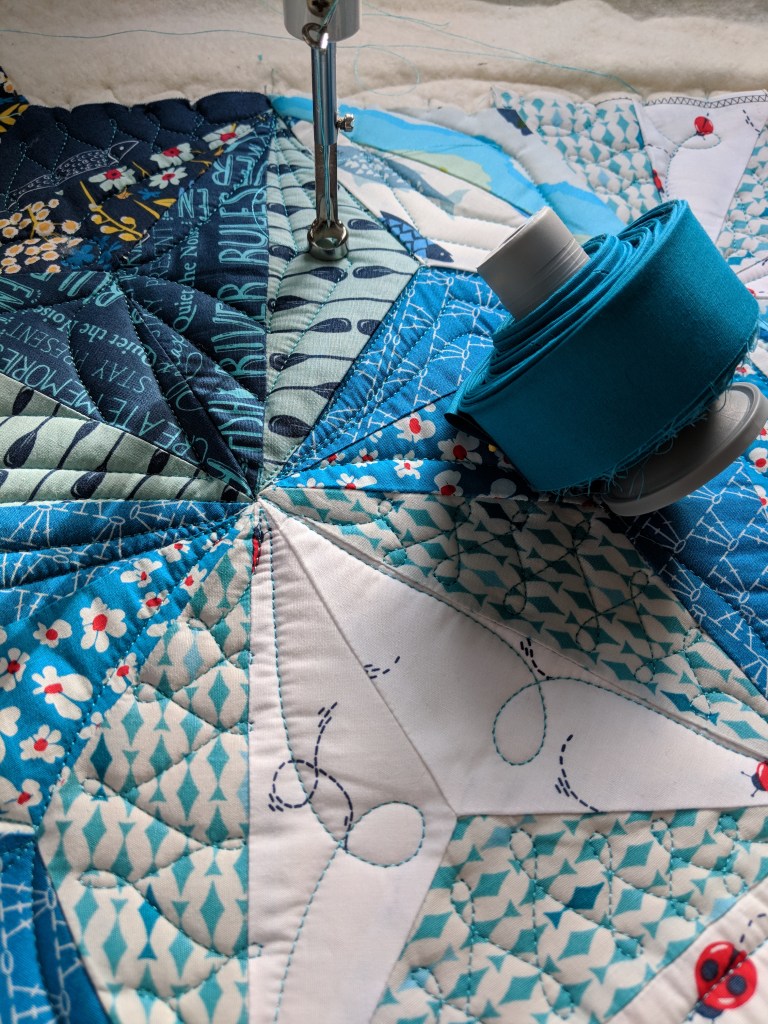
I love my longarm like my cats love destroying my sofa. I’ll use it any time I can get away with it, and that includes attaching binding to a quilt. The quilt is already stretched out, I have channel locks that make a straight line quick and easy. If you have a longarm, you should check out this tutorial and give it a try.
Pieced and Matched Quilt Binding

Before Andrea Tsang Jackson of 3rd Story Workshop posted about lining up bindings it had never occurred to me that I could piece my binding at right angles. I always piece my binding on a 45 degree angle and press open to avoid bulk. I used Andrea’s technique on my Moonrise quilt, and the effect was great!
Facing a Quilt

For a modern wall hanging, a faced binding gives a very crisp, minimal look when a traditional binding would distract from the piece. Audrey of Cotton and Bourbon has an excellent tutorial on faced binding.
Bonus: Flanged binding
This one looks fancy and has been on my to-try list for a while. It seems like an excellent way to finish binding by machine without having to worry about how the stitches will look. Check out the faux-flanged binding tutorial by Becca of Pretty Piney. Note that you can still use the total binding length calculation, but this won’t match up with the yardage calculations on the Magical Rainbow of Binding™.
Bonus: Scrappy Binding

Whether you have leftover yardage, extra blocks, or corners that were trimmed off from on-point blocks, you can stitch together leftover crumbs, then cut them down to make strips of crazy binding. Keep adding on until you have the length indicated on the Magical Rainbow of Binding™.