
One universal truth about quilters is that we spend a lot of time with our irons! I get tons of questions about ironing and pressing, so here’s the lowdown on pressing your fabric, and a mini-tutorial on how to press your seam allowances.
Pressing, NOT Ironing
For new quilters, it’s important to learn that pressing is NOT the same as ironing! When you iron a piece of clothing, you’re trying to smooth out wrinkles, usually with a light hand and lots of side-to-side motion.
When making a quilt, you want to press straight down and avoid any side to side pressure that might distort your fabric. Your objective is flat, undistorted fabric, a square block, and seams that lay FLAT.
Press to prepare fabric before cutting
It’s SO TEMPTING to jump right in and cut fabric when you’re ready to start sewing a new quilt! And while there are no Quilt Police and perfection is overrated, a little extra preparation can prevent frustrating issues, and help you get superior results when you really want to make an intricate, beautiful quilt!
Whether your fabric is fresh from the quilt shop, fresh from the dryer, or fresh from your perfectly organized fabric stash, it probably has some creases or wrinkles. Cutting wrinkled fabric is a guaranteed way to get crooked cuts, so always press your yardage or precuts before cutting.

If your quilt pattern has curves, intricate piecing, or lots of bias sewing, spray some starch on the fabric first.
Using the biggest ironing board that you can, smooth out your yardage or precuts on the ironing board. Check that the fibres in the weave are square (perpendicular), not distorted. Press the hot iron straight down and hold for a few seconds. Lift the iron slightly before moving it over by a few inches, then press straight down again. Continue until you’ve covered as much yardage as fits on the ironing board, then shift the yardage down and continue pressing until it’s all pressed.
If you’re pressing multiple smaller cuts, such as fat eighths, press one piece, then feel free to stack the next layer on top of it and continue pressing.
How to “set seams” before pressing seam allowances
Whether you’re pressing your seam allowances open or to the side, it’s worth taking the time to set your seams before opening up.
To set the seam, lay the quilt block on your ironing board exactly the way it came out of the sewing machine, right sides together. Press your iron straight down on the seam. Then proceed to open up the block and press as desired.
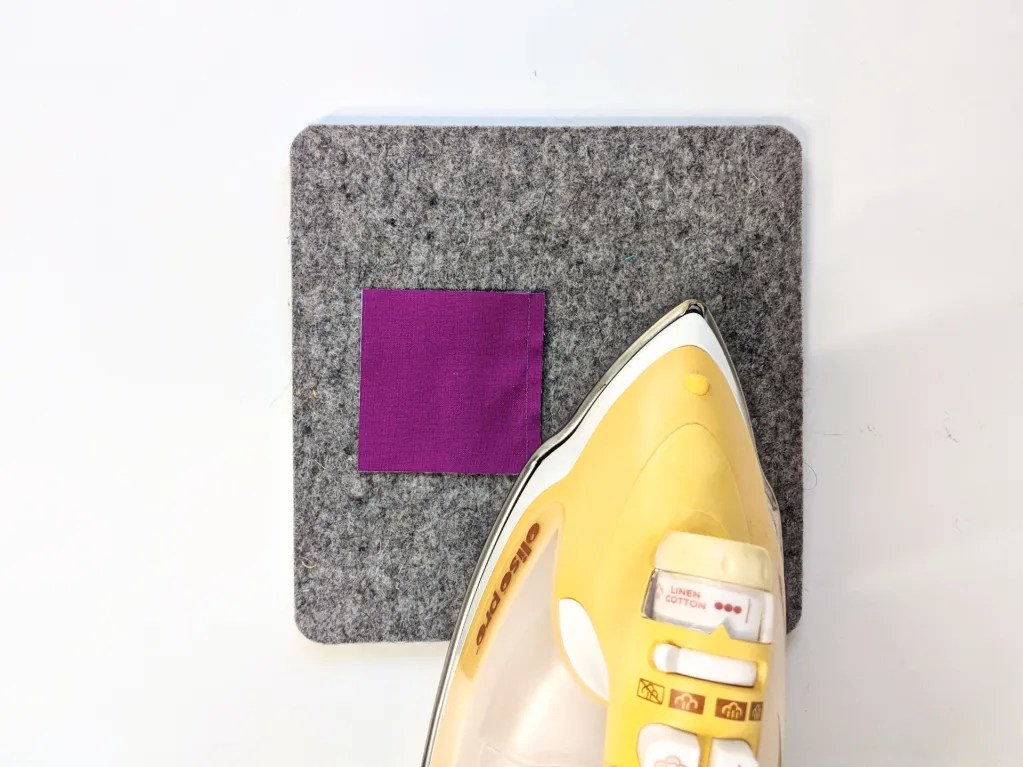

This quick bit of heat relaxes the fibres in both the fabric and the piecing thread, making them a bit more flexible. Then when you open up your block, they’re more willing to bend and smoosh into each other, which results in flatter seams and less distortion. I like to think of it as a soak in the hot tub before a massage.

Which way to press seam allowances
There is no universal “best” way to press seam allowances that will give great results in all situations. Pressing direction can influence the appearance and durability of your quilt in a number of different ways.

Personally, I tend to mix it up depending on which pros and cons are most important for the seam I’m working on. (And if I’m writing a pattern, it’s sometimes easier to just say “press open” than try to explain which side you should press to!) Let’s take a look at some pros and cons of each approach to pressing:
Press seams open
How:
To press seams open, lay the right side of your block against your ironing board. Use the tip of your iron to gently separate the two sides of your seam allowance. (You may want to use a fingernail or a stiletto to get things started.) Press straight down. For longer seams, lift the iron slightly before moving the iron forward to separate the next part of the seam allowance. Continue until you have pressed the entire seam. If desired, turn the block over and press again from the right side.


Pros:
Seams that are pressed open can be flatter, even giving a “seamless” look. You may also find that open seams help your quilt blocks turn out the desired size more consistently than seams that are pressed to one side, since you don’t lose any fabric to “turn of fabric.”

Cons:
If you plan to quilt using a “stitch in the ditch” approach, those flat seams mean that you don’t have a ditch to stitch in. Stitching between the two patches can mean you’re actually not quilting through your quilt top at all, if your quilting stitches are right over your seam. That can result in your quilting stitches putting strain on your piecing stitches, and you definitely don’t want that. It’s best to quilt across any seams that are pressed open.
Press seams to the side
How:
Without opening the block, lay your quilt block on the ironing board. The side facing up is the side that the seam allowance will be pressed toward. Set the seam. Lift the top side of the block and open it so that the right side of the block is visible. Without stretching, use the side of the iron to gently open the seam completely. Press the iron straight down. For longer seams, lift the iron slightly before moving the iron forward to open the next section of seam with the side of the iron.


Pros:
The slight ridge that you get when you press to one side can be helpful for matching intersections when putting quilt blocks together, also known as nesting seams.

That ridge also gives you a head start on giving your quilting dimension. If you’re planning to stitch in the ditch, press seam allowances toward the side that will be more prominent.
Cons:
Depending on your fabric and batting choices, you may be able to see the seam allowances’ “shadow” through lighter fabrics. To avoid this, you can press to the dark side.
Depending on the number of patches that meet at an intersection, seam allowances can build up to make a bulky bump that is difficult to quilt through. To avoid this, you can spin your seam allowances at intersections.

Thicker fabrics, heavier threads, and incomplete opening when pressing can lead to quilt blocks that are smaller than desired. To avoid this, check and test your 1/4″ seam allowance before starting your project.
How to spin seam allowances
It takes a bit of planning ahead, but spinning or twirling seam allowances can lead to less bulk at the intersections where multiple seams meet.

Wanna see it in action? Watch the video in my Instagram highlights
It takes a little bit of practice, and you have to plan out your pressing directions carefully for it all to work out, but the results are very satisfying!

Tailor’s clapper for flatter seams
A tailor’s clapper is a block of wood that you lay on top of your freshly pressed block.
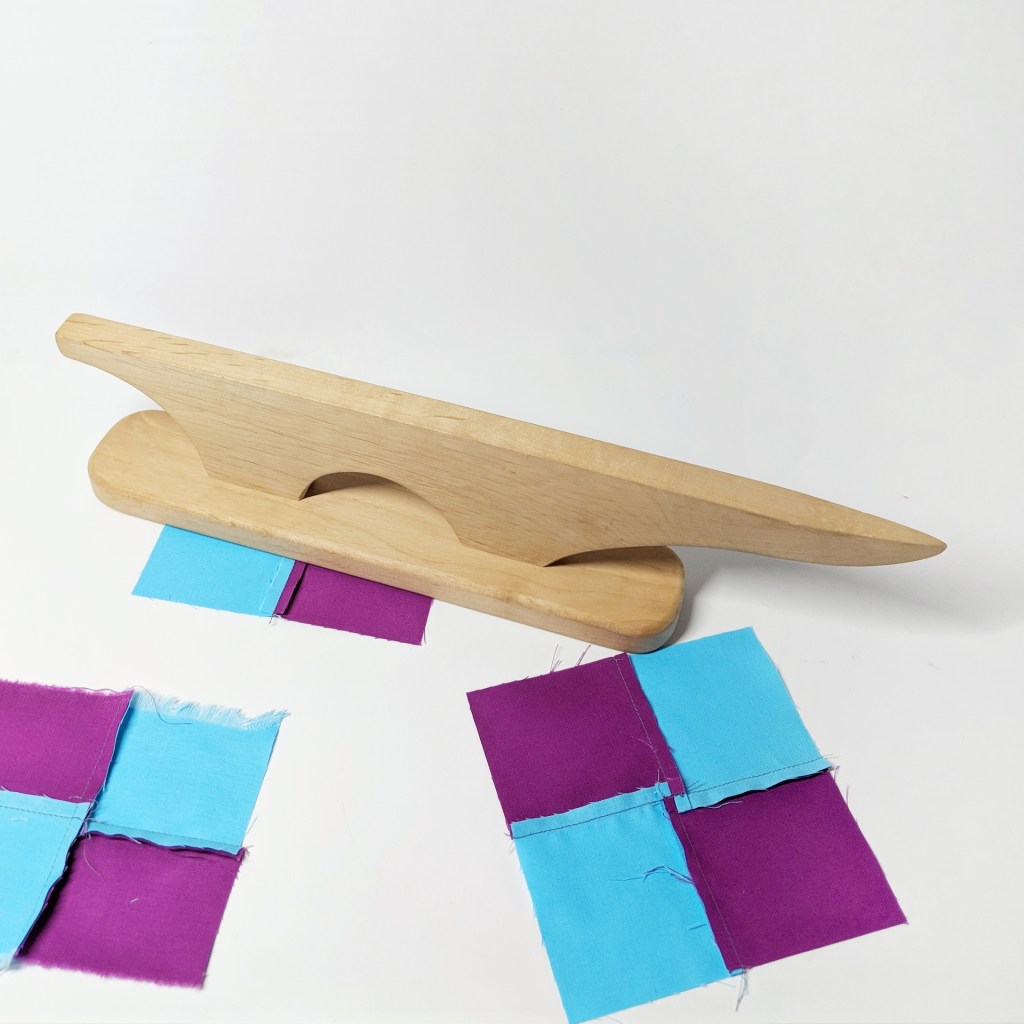
The weight of the wood keeps the seams flat, while its relatively cool temperature helps cool off the fibres in the fabric and thread. The effect is similar to using a cool blast setting on a hairdryer: the fibres hold the desired shape better than if you let them relax while they cool. Science!

I hope you found this post helpful!
This post was part of the Back To School Blog Hop!

Be sure to come back daily to check out more useful tips and tutorials for the rest of the month. We have 16 days of sewing and quilting tips from 16 talented friends and colleagues:

I am a huge fan of all the visuals you used to help explain and show the differences in choices we can make as we press, Bobbie; thank you!
I’m all about the Sewing Science! Wish there was a more quantitative way to show the differences
Loved the pros and cons thanks very helpful
Thanks for explaining spinning intersections. I have often heard a quick judge make the remark, “ strive to reduce bulk at intersections.” Usually more problematic where eight diamonds come together. I’d love to see more and that problem. I have been using a clapper for a long time and also got mine at a thrift store for three dollars. Extremely valuable! However, I do my pressing near my granite kitchen island countertop and after I’m done pressing I quickly move the hot quilt block to the called granite surface and put the clapper on it to cool completely. I don’t think you can get a flatter seam. In the past I have found the friction between the quilt block and the surface of the board I’m pressing on or the wool pressing block to be a hindrance to getting the seam to press flat. I now lay a piece of nonstick parchment over the ironing board and press the quilt block on that. Those seams press perfectly flat much faster and precisely when pressed over the parchment. Works similarly to a Teflon pressing sheet, but a lot less expensive and you can use it over and over. It will also keep stray threads and any surface adhesive or starches from building up on the surface of your ironing board or wool block. I took a hint from a friend and cover my wool block with cotton/linen blend tea towel to keep all that junk off my wool block as well. Even when you press with a dry iron, moisture builds up in a wool block. At the end of a sewing/pressing session, I stand it up on the end supported by two chair legs to let it air out from both sides overnight. This will keep it from smelling like a sheep shearing barn Over time.
I do try to spin when there are more seams coming together. Not exactly your 8 diamonds example, but I have an HST example here: https://www.instagram.com/reel/CHJwgQbHp5J/
Great article. I learned a lot.
I am working on a black and white quilt and don’t want any stray unwanted black seam unknowingly travel over to the white while I am stitch top stitching it all together. Is it possible that while I am ironing opened my seams I also put a small bead of glue to hold them in place?
You can give that a try for sure. If you’re actually pressing OPEN, you might not need to bother. If pressing to the light side, you can trim your black seam allowances back a bit so they are completely covered by the white.
Thank you for the fast reply! I decided to try the press open then a thin line of glue and another quick press (I have one of those tiny seam irons). Worked like a charm! This may be the only way I go from now on. I love the crispness of working with the two blocks sewn together. WOW! I will also use your technique on my next one. Thanks for your help.