
We’re making Diagonal Stripe blocks this week using the flippy-corner method!
Retro Tetro Quilt Along
Dates: September 15 through November 23
Duration: 10 weeks
Quilt Sizes: Mini, Crib, Throw, or Twin
How to Quilt Along
Share your progress on Instagram using #retrotetroqal. That’s where you’ll find the weekly photo prompts, livestreams, and more! Sign up here to be eligible for prizes, and get the weekly emails with tips for the coming week’s fun.
Join the Retro Tetro Quilt Along
Schedule
Week 1: Pick your fabrics, get your pattern, plan your coloring sheet
Week 2: Cut, label, and organize your pieces
Week 3: Make Large HSTs
Week 4: Make Block 2 (12 blocks)
Week 5: Make Small HSTs
Week 6: Make Block 3 (10 blocks)
Week 7: Make Blocks 4 (8 blocks)
Week 8: Make Block 5 (8 blocks)
Week 9: Sew blocks and strips into columns
Week 10: Finish quilt top
Step 1: Get organized
Open up your pattern to page 10. The Block 2 Combination Table is your checklist.
From your Large HSTs, find the blocks made from the colours in the first 2 columns (A and B).
The smallest squares that you put in the “Block 2 & 4” bag are what you need for the Color C column.

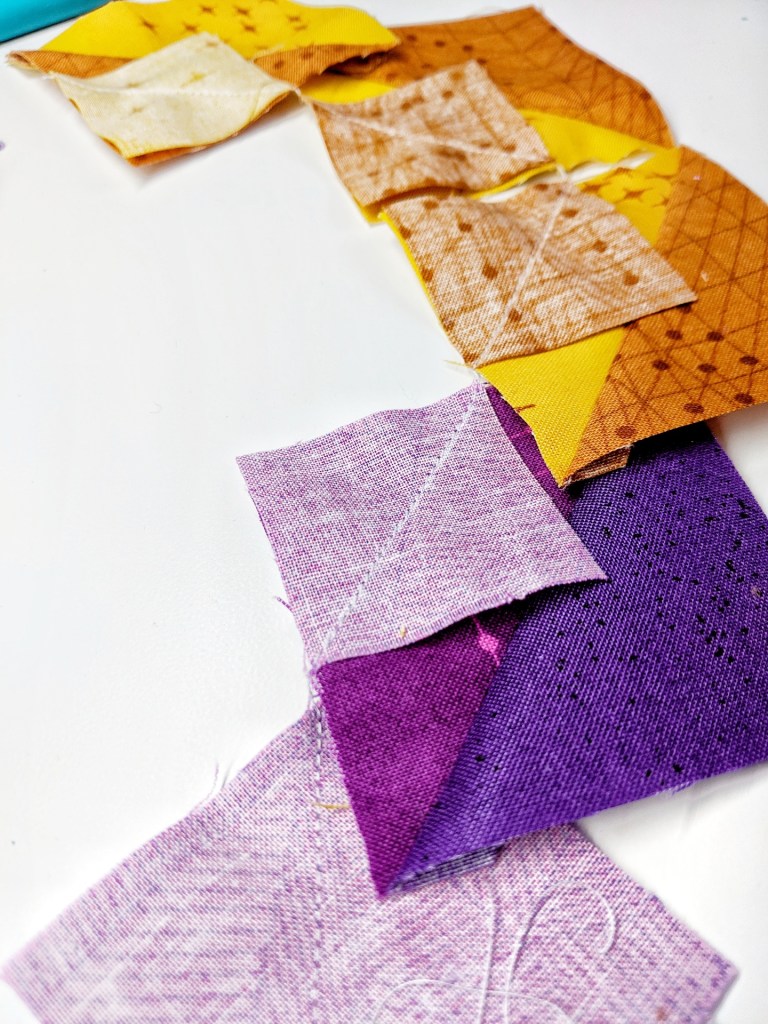
Step 2: Mark your line
Draw a diagonal line from corner to corner on the wrong side of the Color C square.
If you like, pin the square to the Color B half of the HST.
Step 3: Chain piece!
This time we’re stitching directly on the line.
Optional: Bonus HSTs
I’m not a huge fan of the flippy-corner method because the little triangles that you cut off end up as waste. If you’re an efficiency freak like I am, you can stitch 1/2″ away from the seam (on the corner side) and get a wee bonus HST to use in another project.

Step 4: Press
Press that beautiful corner triangle open to reveal a diagonal stripe block. Pause to marvel at the brilliance of your fabric choices. Everything should be nicely lined up.
Step 5: Trim
Cut off the corner, leaving a 1/4″ seam allowance. I leave this step until after pressing, just in case pressing reveals anything that might require adjustment, but if you’re like most people, you probably already did this before pressing. (Then again, if you were like most people, you wouldn’t be reading this. I applaud you in your thoroughness! We can have a secret handshake of some sort!)
You should have 12 Diagonal Stripe blocks.

Step 6: Label Block 2
Use the Block 2 Combination Table on page 10 to find the block numbers for your large Diagonal Stripe blocks. Check your Coloring Page to see which way each block should be oriented, then label the block with its number at the top. Put these blocks in alpha-numeric order with their background strips & Block 1s.
There should be some small squares left in your bag. We will use them to make Block 4 in a few weeks.
Step 7: Share!
Remember to share your progress on Instagram using #retrotetroqal.
Giveaway!!
This week’s prize is a copy of Electric Quilt 8 software!
The Electric Quilt Company is the leading quilt design software company in the world. Started in 1991, the company has produced many software editions, EQ8 being the current version, published numerous books, and created hundreds of add-ons that include collections of blocks, fabrics, or quilt designs. The company prides itself on its customer service, as it wants to be sure everyone can enjoy using the software and creating their next sensational quilt design!

EQ8, the industry’s favorite quilt-design software, allowing you to turn your ideas into beautiful masterpieces! See your quilt before cutting fabric, and once ready to cut, print out fabric-yardage estimates. Use one of the over 6,700 blocks or 6,200 fabrics in the program as is, or draw or import your own, and set them into a quilt layout of your choice. Let the software motivate, inspire, and lead you to exciting new quilt designs!

Head over to today’s Instagram post for the details! Best of luck!
Use code EQ8GEEKYBOBBIN for 20% off everything at ElectricQuilt.com (EQ8, EQ8 upgrades, books, add-ons, etc.). Expires Dec. 31, 2020
Don’t forget to check out all our amazing sponsors!
- Birdie and Dot Fabrics
- Craft de Ville
- The Electric Quilt Company
- Hobbs Bonded Fibers
- LDH Scissors
- Mister Domestic
- PreQuilt
- Purple KATZ Quilting
- Ruby Star Society
- Shannon Brinkley Studio
- Silly Moon Quilting Co
- Wonderfil Specialty Threads
Join the Retro Tetro Quilt Along
