Arctic Vortex Quilt Along Week 5


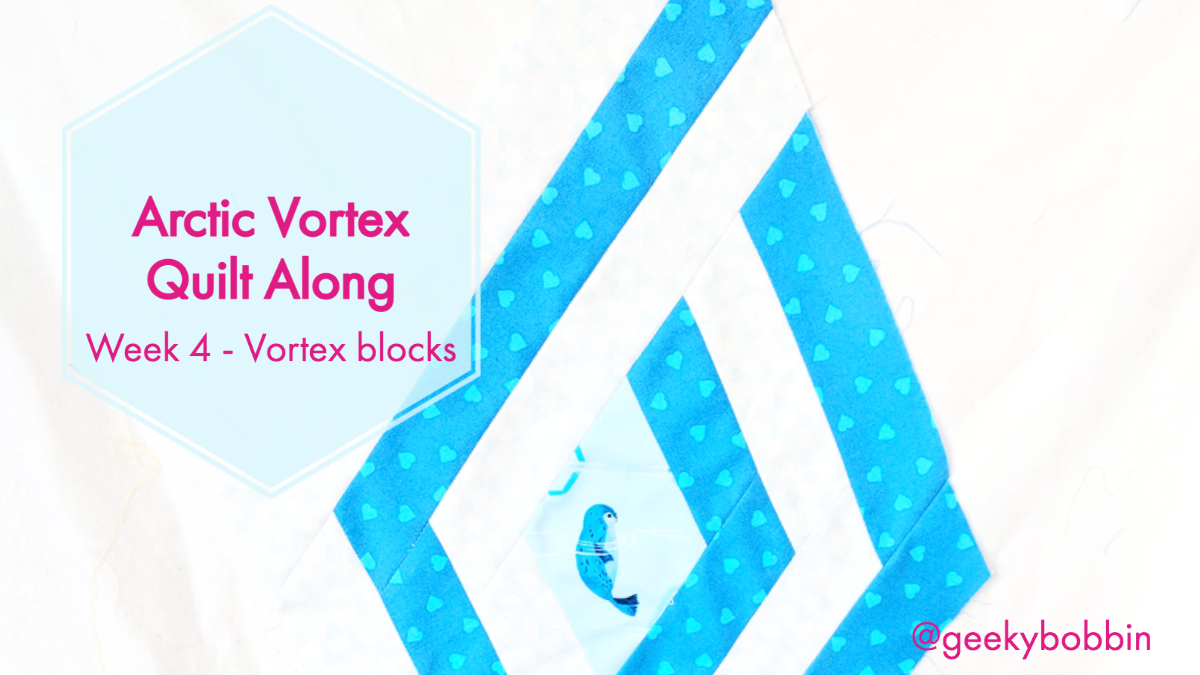
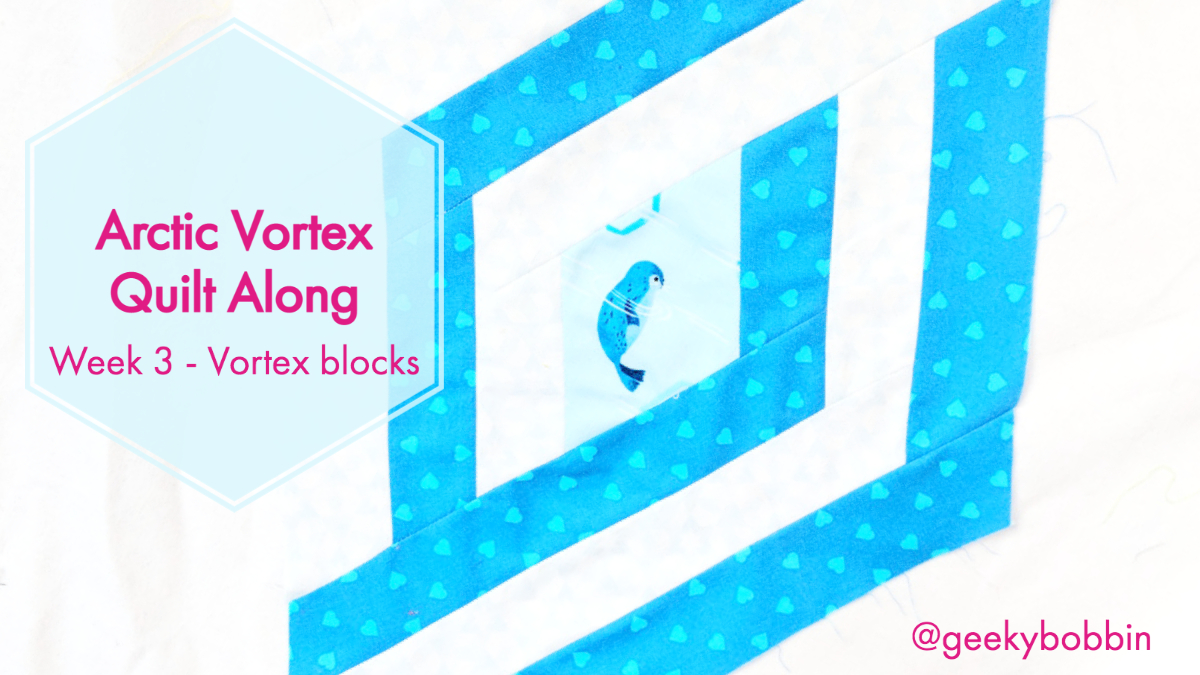
Can you believe we’re half way through the Arctic Vortex Quilt Along? If you’re making the mini quilt, you’re finally ready to sew some quilt blocks! The rest of us are shifting gears from diamond quilt blocks to some super speedy triangle quilt blocks to fill in the outer edge of our hexagon quilts or quilted tree skirts.

Step 1: Make strip sets.

Check the pattern for how many strip sets and which order the fabrics go in. Remember to double check if the instructions call for WOF (40-ish inches) or half-WOF strips.

Whether you’re making a mini quilt and excited to finally start sewing, or if you just want a refresher on sewing tricky angles:

Arctic Vortex Quilt Along Week 4


Have you seen all the amazing Vortex blocks popping up?? This week we’re making 3 more blocks. If you’re making the mini quilt, you’re still on pause until Week 5.
Step 1: Make 3 Vortex blocks.
You’re a pro at these after last week, but in case you want a refresher, here are the videos on sewing tricky angles and partial seams:

Arctic Vortex Quilt Along Week 3


I hope you’ve got an itch to STITCH! This week we’re starting to sew our Vortex blocks! If you’re making the mini, watch the YouTube video in Step 1 below. Eager beavers can work ahead, but really Team Mini is on pause until Week 5.

Step 1: Attach the first strip to your diamond.

Follow the pattern for details of which strip. If you’re new to sewing with with 60-degree and 120-degree angles, you’ll want to watch this tutorial first. I’ll show you how NOT to line up your pieces, and 2 ways to get them to match up just right.

Step 2: Attach the second strip with a partial seam

Don’t Panic!

You’ve probably sewn a partial seam before and you didn’t even know it. Partial seams are really No Big Deal. Here’s the scoop: