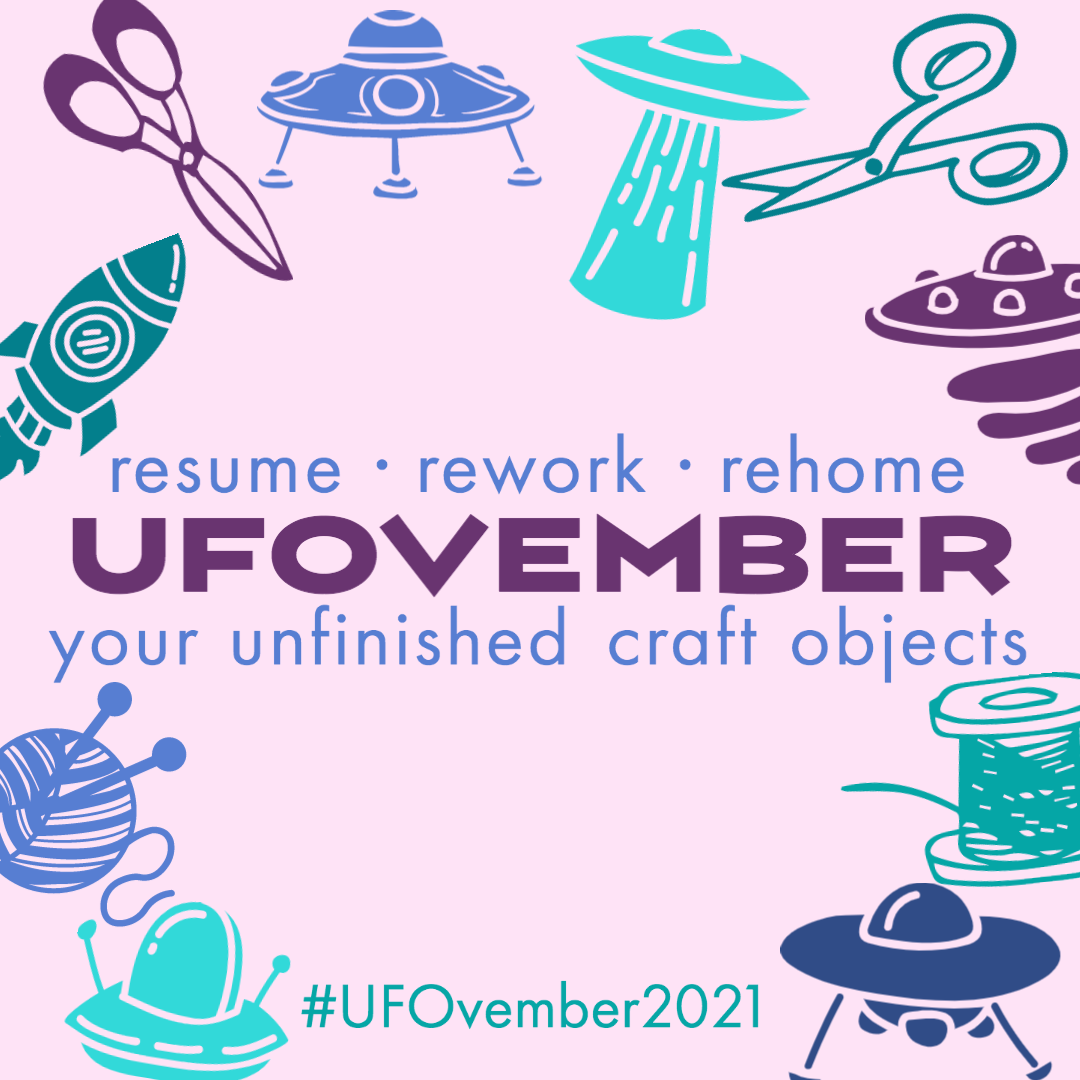
They lurk at the back of our craft cupboards, taking up space and emotional energy: the UnFinished Objects.
You started the project with the best of intentions, but then you ran out of something: materials, time, passion for the project, motivation, direction (how do I quilt it????), the skills to do it justice…
You’ve invested precious time and money into the project, so you’re not about to trash it. With the pandemic putting further pressure on our crafty budgets, time, and energy, this is the perfect time to dust off those UFOs and help them back on their journey to completion (and potentially fast track some holiday gifting!).
Welcome to the 2nd edition of UFOvember! Over the next 30 days, I invite you to join me in examining our crafty orphans and deciding whether to Resume work on them as planned, Rework them with a Plan B, or Rehome them to another crafter, who can joyfully get them across the finish line.
Category: blog

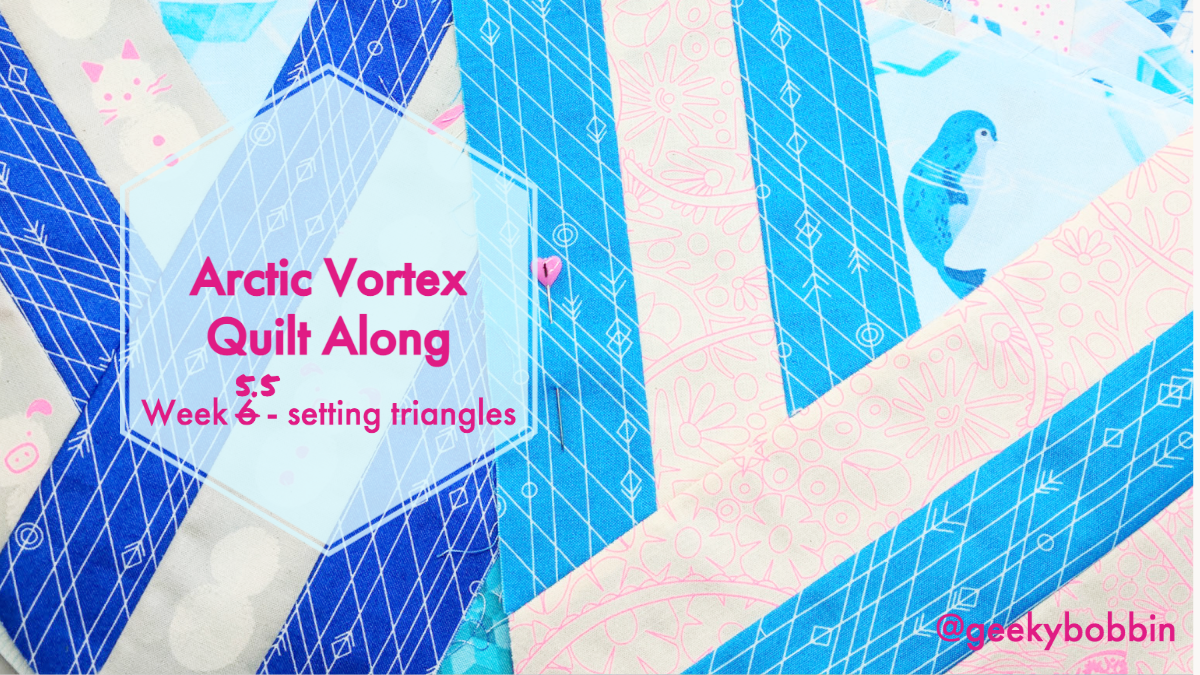
Arctic Vortex Quilt Along Week 6
🎵It’s beginning to look a lot like a quilt top🎵 This might just be the most satisfying week of the entire quilt along for me. Our Arctic Vortex quilt tops are finally coming together! Maximum satisfaction, minimal frustration. Let’s jump right in!
Step 1: Get organized!
Whether you’re using a design wall, design bed, or design floor, now is the time to lay out all your blocks, adjust their placement, and make sure you’re happy with the finished arrangement.
For me, the key is getting the stripe effect to continue from one block to the next. In the center of the quilt, all your lightest strips should meet (or all your darkest — just be consistent.)
At the “bottom” of each Vortex block, lay out 2 setting triangles. I find that the sashing strips on the large size add another stripe into the mix, so I wanted to continue the long light-dark-light stripe down the left edge of the block, while on the medium size I preferred the contrast of a dark-light-dark stripe.
Once you’re happy with your layout, pin or stack your blocks so you can chain piece them together.
Arctic Vortex Quilt Along Week 5.5
Awww yeah!!!! This is the final week of piecing! Are you excited to see your quilt coming together before your eyes? Next week is when it all comes together, but first, let’s finish making the final triangle blocks.
Step 1: Make strip sets.
Check the Arctic Vortex Quilt pattern for how many strip sets to sew and which order the fabrics go in. Remember to double check if the instructions call for WOF (40-ish inches) or half-WOF strips.
Whether you’re making a mini quilt and excited to finally start sewing, or if you just want a refresher on sewing tricky angles:

Arctic Vortex Quilt Along Week 5
Can you believe we’re half way through the Arctic Vortex Quilt Along? If you’re making the mini quilt, you’re finally ready to sew some quilt blocks! The rest of us are shifting gears from diamond quilt blocks to some super speedy triangle quilt blocks to fill in the outer edge of our hexagon quilts or quilted tree skirts.
Step 1: Make strip sets.
Check the pattern for how many strip sets and which order the fabrics go in. Remember to double check if the instructions call for WOF (40-ish inches) or half-WOF strips.
Whether you’re making a mini quilt and excited to finally start sewing, or if you just want a refresher on sewing tricky angles:
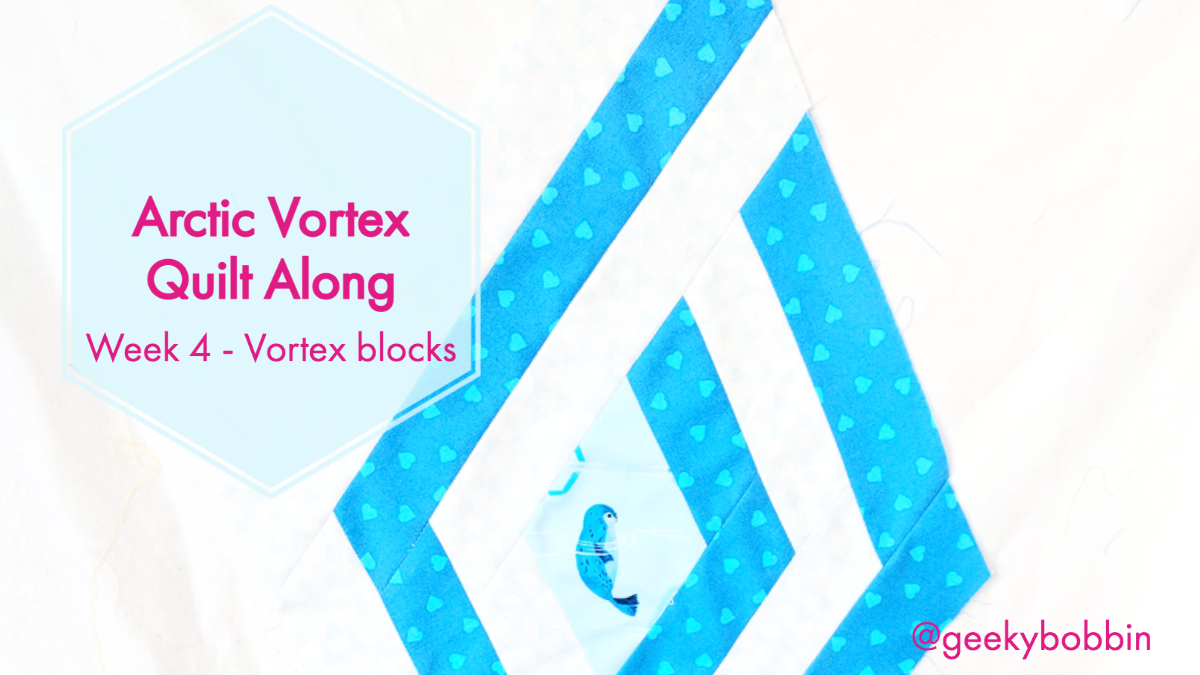
Arctic Vortex Quilt Along Week 4
Have you seen all the amazing Vortex blocks popping up?? This week we’re making 3 more blocks. If you’re making the mini quilt, you’re still on pause until Week 5.
Step 1: Make 3 Vortex blocks.
You’re a pro at these after last week, but in case you want a refresher, here are the videos on sewing tricky angles and partial seams:
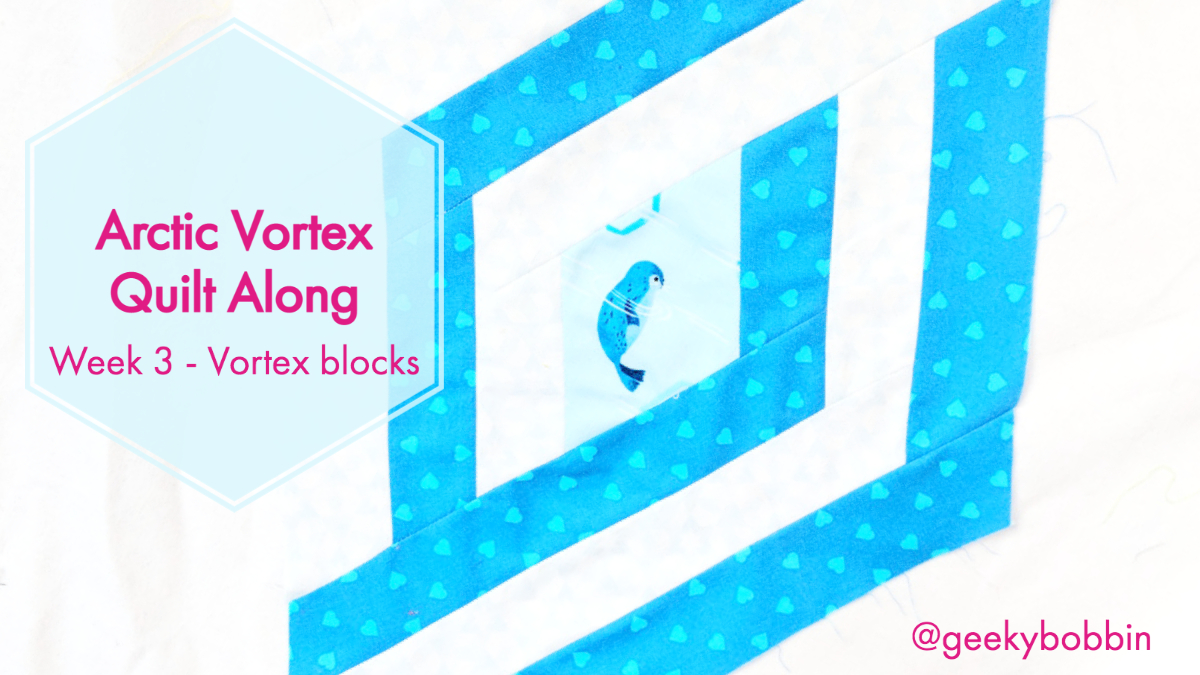
Arctic Vortex Quilt Along Week 3
I hope you’ve got an itch to STITCH! This week we’re starting to sew our Vortex blocks! If you’re making the mini, watch the YouTube video in Step 1 below. Eager beavers can work ahead, but really Team Mini is on pause until Week 5.
Step 1: Attach the first strip to your diamond.
Follow the pattern for details of which strip. If you’re new to sewing with with 60-degree and 120-degree angles, you’ll want to watch this tutorial first. I’ll show you how NOT to line up your pieces, and 2 ways to get them to match up just right.
Step 2: Attach the second strip with a partial seam
Don’t Panic!
You’ve probably sewn a partial seam before and you didn’t even know it. Partial seams are really No Big Deal. Here’s the scoop:
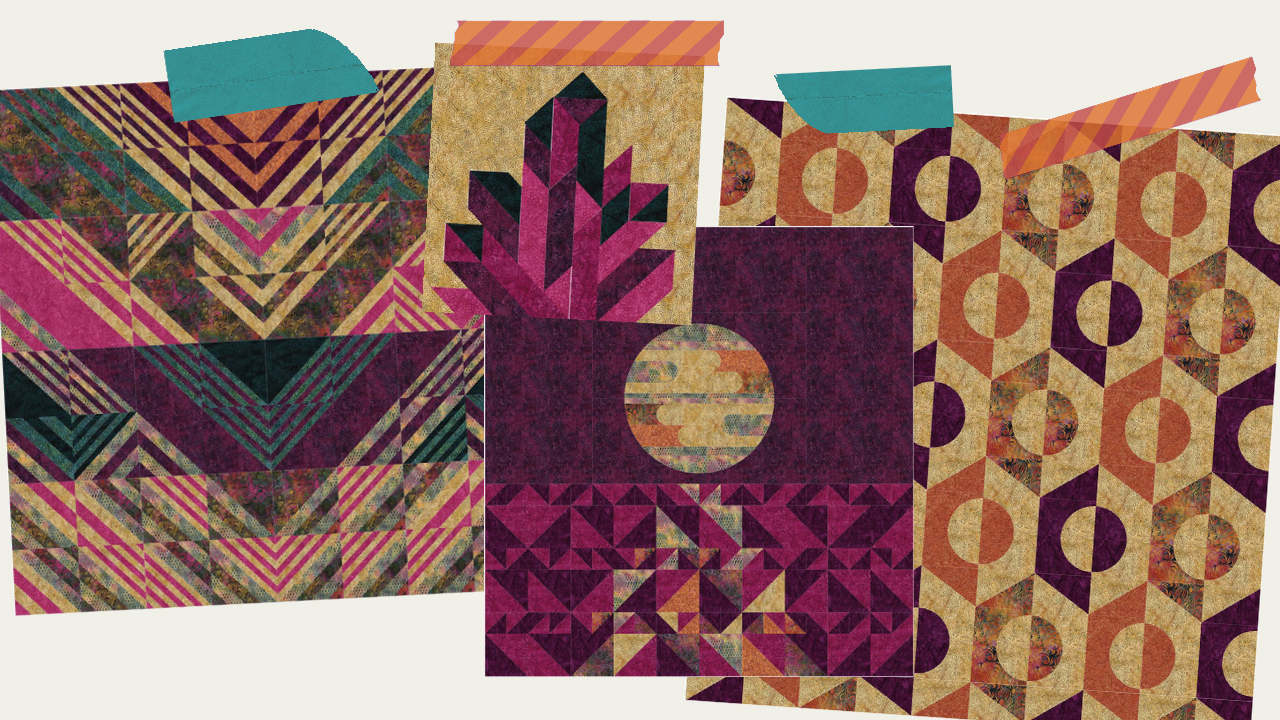
Autumn Quilt Inspiration: Pumpkin Spice and Peacock Plume
There’s a chill in the air and the days are getting shorter. That means 3 things:
Everything is about to get VERY pumpkin spice oriented on social media
Squirrels are trying to live in my roof rent-free*
Quilt palettes are about to turn warm and cozy, like roasted root veg and decorative gourds << sweary comedy article! Don’t click if you’re offended by swears!!
So pull up an overstuffed armchair, grab a steaming mug of pumpkin spice oat milk chai tea latte and a gluten free, nut free, dairy free, vegan, free range pumpkin spice scone, and prepare to be inspired by some beautiful, seasonal colour palettes!
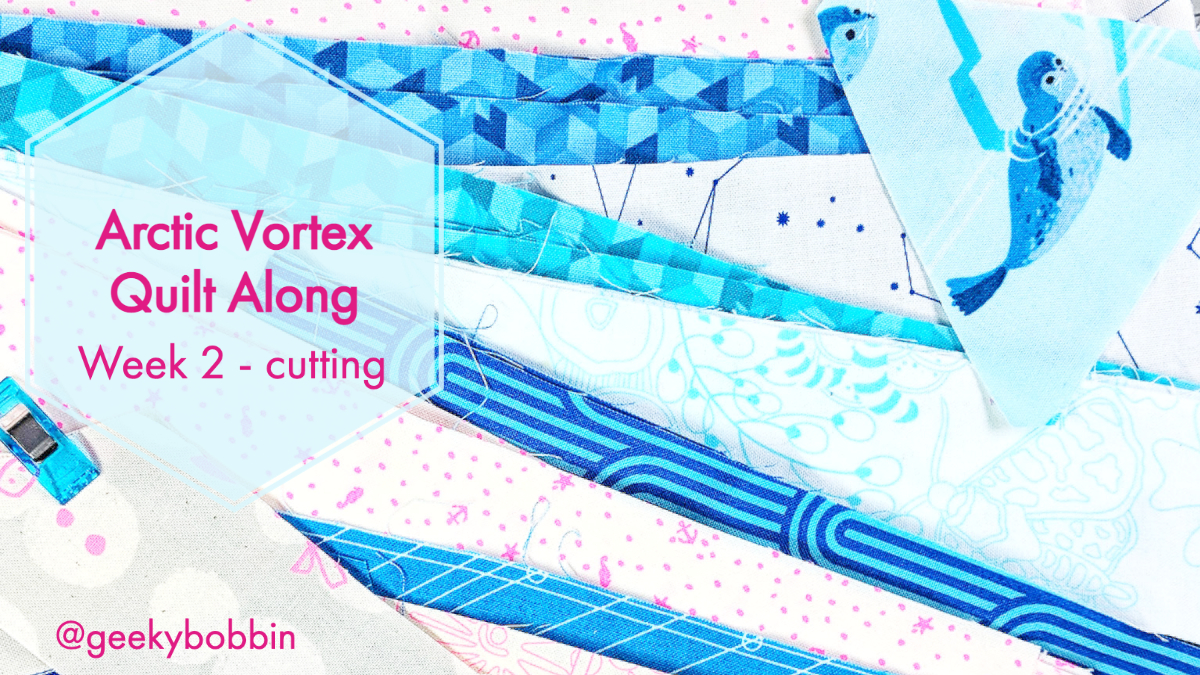
Arctic Vortex Quilt Along Week 2
Plan your quilt!
The first question is which size Arctic Vortex Quilt are you making? The medium size makes a good throw quilt or tree skirt, but if you want a bigger tree skirt, the large size is a few inches larger thanks to the added sashing, which also adds a little extra visual interest. Either one can be made using fat quarters or yardage. You can even go scrappy if you have long strips hanging around in your scrap basket.
Either way, you’ll want to pair up fabrics, since each block is made with 2 colours of strips. You can choose high contrast pairs or low contrast pairs.
And of course the star of the show is the focal fabric for the diamonds! We’ll talk more about fussy cutting next week, but you can print out the diamond template from the pattern to check if your motifs are the right scale for fussy cutting. Feel free to go scrappy with these as well!

Arctic Vortex Quilt Along Week 1
Plan your quilt!
The first question is which size Arctic Vortex Quilt are you making? The medium size makes a good throw quilt or tree skirt, but if you want a bigger tree skirt, the large size is a few inches larger thanks to the added sashing, which also adds a little extra visual interest. Either one can be made using fat quarters or yardage. You can even go scrappy if you have long strips hanging around in your scrap basket.
Either way, you’ll want to pair up fabrics, since each block is made with 2 colours of strips. You can choose high contrast pairs or low contrast pairs.
And of course the star of the show is the focal fabric for the diamonds! We’ll talk more about fussy cutting next week, but you can print out the diamond template from the pattern to check if your motifs are the right scale for fussy cutting. Feel free to go scrappy with these as well!

Arctic Vortex Quilt Along FAQs
We’re one week away from the beginning of Arctic Vortex Quilt Along and I’m sew excited for all the fun!
Arctic Vortex Quilt Along
Dates: September 14 through November 23, 2021
Duration: 10 weeks
Quilt Sizes: Tree skirt or hexagonal quilt:
Large: 53” x 61”
Medium: 47” x 56”
Mini: 23” x 28”